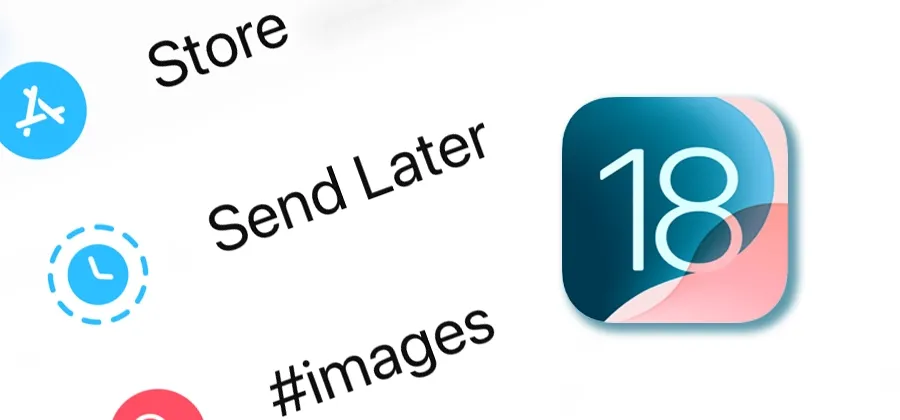
With iOS 18, Apple has introduced a highly anticipated feature: Send Later. This allows users to schedule messages to be sent at a later time, adding convenience and flexibility to communication. Whether you need to send a reminder, a birthday wish, or a business message at a specific time, the Send Later feature is here to help. In this guide, we'll walk you through the steps to use this feature efficiently.
Step 1: Update to iOS 18
Before you can use the Send Later feature, ensure your device is running iOS 18. To check for updates:
- Open Settings.
- Go to General.
- Tap Software Update.
- If an update is available, follow the on-screen instructions to download and install iOS 18.
Step 2: Open the Messages App
Once your device is updated:
- Open the Messages app.
- Select an existing conversation or start a new one by tapping the compose button.
Step 3: Compose Your Message
Type the message you want to send later. Make sure the message is exactly as you want it before scheduling, as you will have options to edit but it's better to be sure from the start.
Step 4: Access the Send Later Option
- Tap the plus button near the message compose box.
- A menu will appear with several options, including Send Later.
Step 5: Schedule Your Message
- Tap Send Later.
- A date and time picker will appear.
- Select the date and time you want the message to be sent.
- Confirm your selection by tapping Schedule.


No comments:
Post a Comment